Changing the Mailbox File Path for EDI Transactions.
There are a few reasons why you may need to change the default Mailbox file path for your EDI transactions.
Changing the Mailbox File Path for EDI Transactions
There are a few reasons why you may need to change the default Mailbox file path for your EDI transactions. Commonly, this need can arise after a server migration. Whatever the reason may be, here are the steps to go about making that change. Your EDI provider’s software will need to reflect the same Mailbox file paths as those set up in Acctivate.
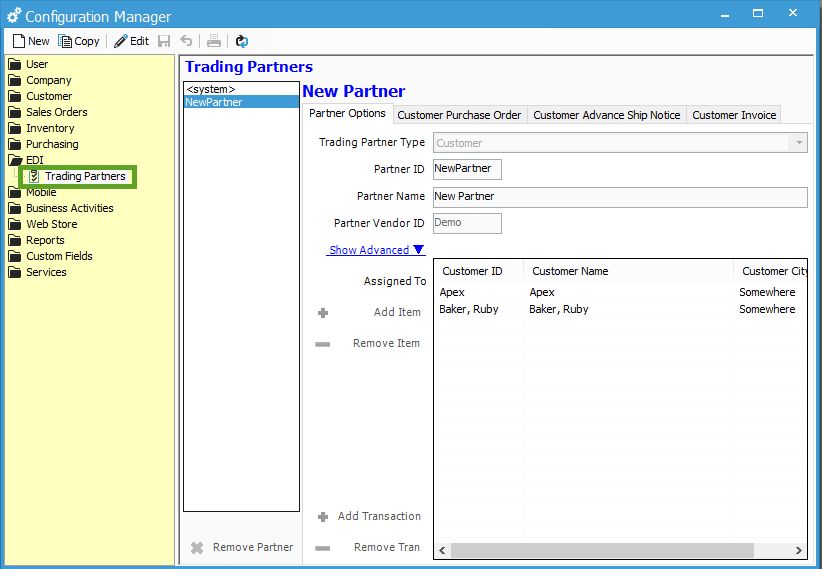
- Open File > Configuration Manager > EDI > Trading Partners.

- Select the Trading Partner you wish to make the changes to. If you have moved servers or are using a new file path for all EDI transactions then you will need to make the change on all Trading Partners.
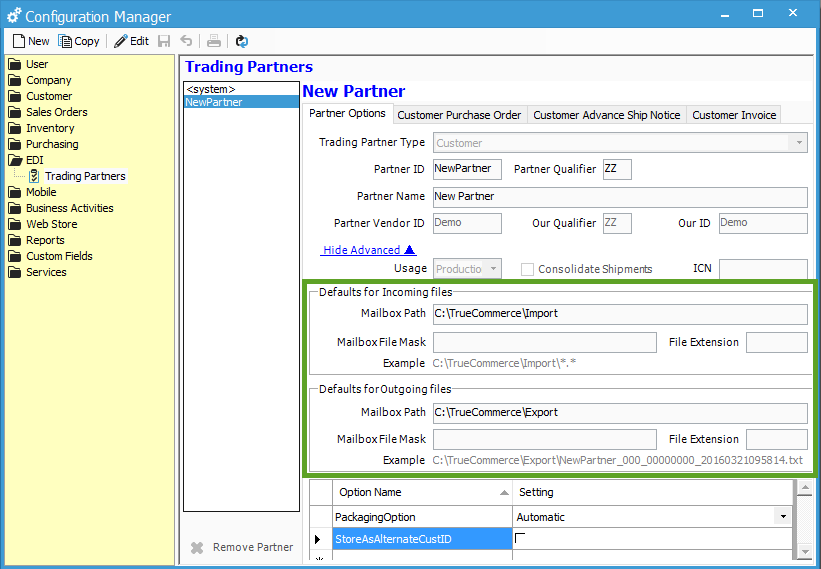
- Select to Show Advanced on the Partner Options tab. This is where the default paths are for Incoming and Outgoing files.

- To change these paths, select to Edit and then change them as needed. Once you have made the changes you need to, go ahead and click to Save.
- If you have a different file path for each transaction, such as the Customer Purchase Order, you may need to make changes to those paths on the transaction level as well. To do this, select the proper tab and then edit to make changes to that particular file path. (Most companies only use the default Mailboxes.)