Most users will utilize landed costs when adding in additional costs to their inventory, however, there may be times when creating a zero quantity receipt with a non-zero value is used instead, this is referred to as an added cost receipt. If you're not sure which option is right for you, you can review the differences in this article. The steps for added cost receipts are listed below.
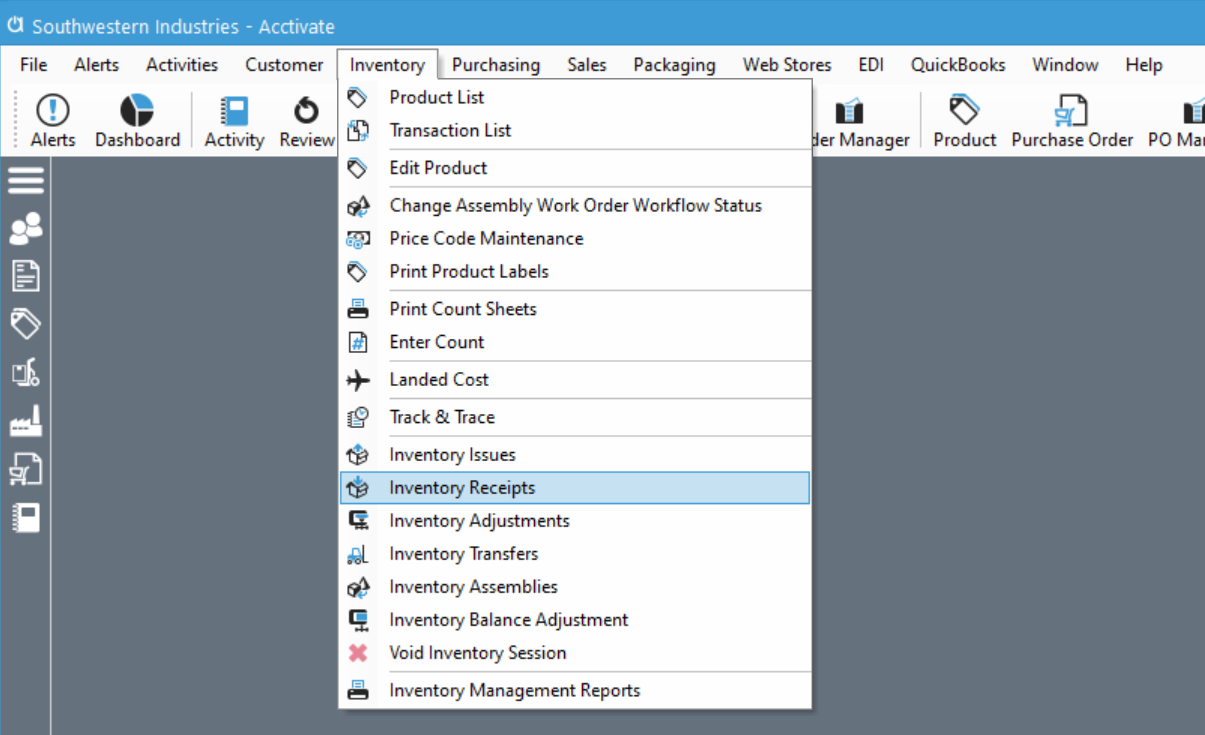
- From the inventory menu, select inventory receipts to open the receipt window
- Click new in the left hand corner and if needed, adjust the session date and warehouse at right. Added costs will be added as of the session date
- Add the first product that needs to have costs added to it's value. If the product is lot numbered, type in the specific lot number that should receive the added costs
- Adjust the product's quantity to zero and in the amount column enter the total amount of value that should be added to that product

- Add additional products using the same process.
- Once all products have been added, click post to apply the costs to the products.
- Once posted, you'll see that the total valuation of the product in that warehouse has increased by the amount of the added cost transaction and the average cost has recalculated accordingly
- When the transaction is synced to QuickBooks, it will use the below accounts. The value in the Accrued Purchase Receipts will need to be reconciled by either creating a vendor bill against the APR account or a general journal
Account DR CR Inventory Asset $50 Accrued Purchase Receipts $50