Delivery Routes are used for local deliveries of orders by a company truck. Routes can be related to customer ship to locations, then invoiced sales orders using those ship to locations can all be picked at once to be sent out for delivery. This article will focus on the configuration and use of these Delivery Routes.
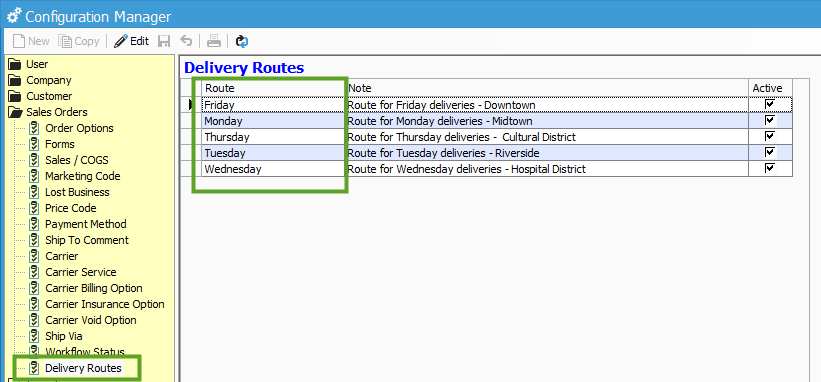
To create the routes, log in to Acctivate as an administrator then go to go to File > Configuration Management > Sales Orders > Delivery Routes and click Edit. Here, you can create multiple different routes and add notes as to where this route may go.
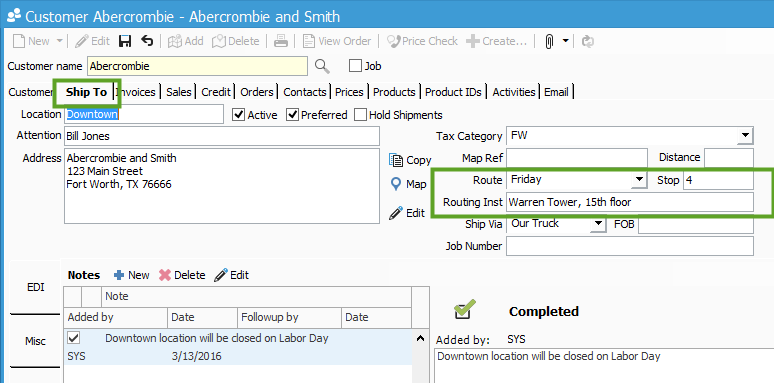
To add the relationship between a route and a customer ship to location, open the customer window for the desired customer and click on the Ship To tab. Select the ship to Location desired from the drop down, then click Edit and add the Route. It’s also possible to set a Stop number, which could be used for custom reporting to distinguish an order in which product should be delivered within a given route. Routing Instructions can also be defined for this specific customer location. Once everything has been added, click Save.
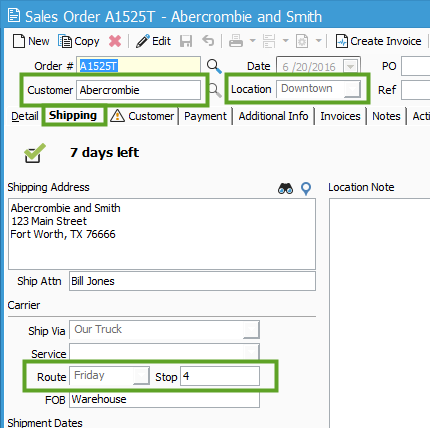
When the customer is added to a Sales Order, and a Ship To Locations is set which is related to a delivery route, the route will show on the Shipping tab of the sales order.
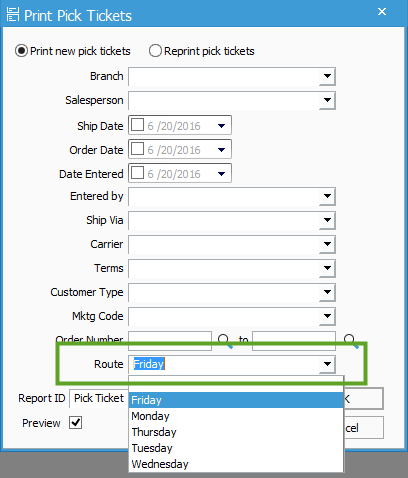
As orders are invoiced for different routes, Pick Tickets can be printed by each route. This way, all orders associated with a given route can be picked at once, loaded on a delivery truck and sent out for delivery.
For more information about this, check out our docs page.