Wire payments can be managed in Acctivate or QuickBooks. If managing payments in QuickBooks, follow QuickBooks recommendations for managing payments. Apply the payment to the Acctivate invoice. Discuss further details of QuickBooks payments with your CPA, Accountant, or QuickBooks support.
To create a wire payment in Acctivate, use the Customer Payment Center.
- In QuickBooks create a payment method for the wire transfer. The payment type must be Cash or Other, not Credit Card, E-check, Other Credit Card, etc.
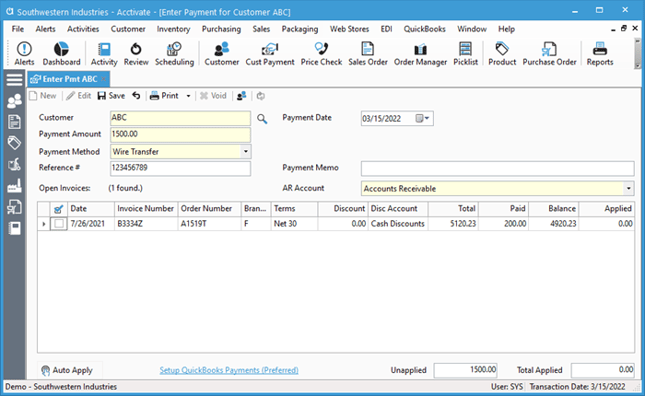
- Open the Customer Payment window.
- Create a New payment.
- If the payment is for an existing invoice(s) select the invoice(s). Else enter the payment amount. Follow the directions here for further details on creating general payments.
- When entering the payment detail, consider entering the confirmation number in the Reference # field.
- Fill out any additional details, such as the Payment Memo and changing the AR Account. When done Save to create the payment.
- Sync with QuickBooks to push the payment over.
- In QuickBooks reconcile the payment into the correct account:
- If the Undeposited Funds option is enabled in QuickBooks, use the "Make Deposits" function in QuickBooks to deposit the payment to a specific account.
- If the Undeposited Funds option is not enabled, the synced payment goes to the last Bank Account used for the last payment entered in Quickbooks, as per QuickBooks standards, since QuickBooks does not have a default deposit account.