Customer Types
This article will cover how to create new Customer Types, and how to assign them to Customers, as well as some ways that the Customer Type can be used in Acctivate.
Customers in Acctivate can be categorized into different Types. This article will cover how to create new Customer Types, and how to assign them to Customers, as well as some ways that the Customer Type can be used in Acctivate.
Customer Types are defined in Configuration Manager. A user with access could add as many different Types as they want. This is a great way to distinguish a Retail, Wholesale, or Government customer. Or to distinguish between a regular "Customer" and a "Prospect." These Customer Types can also be marked Inactive so that they no longer show in the drop down for Customers.
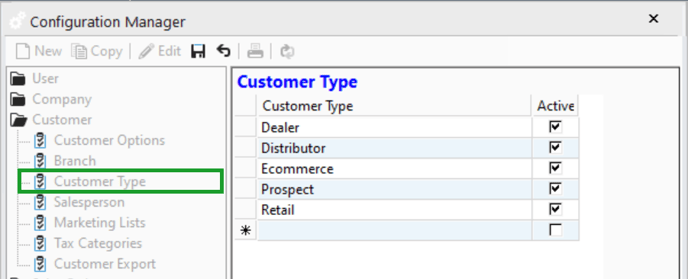
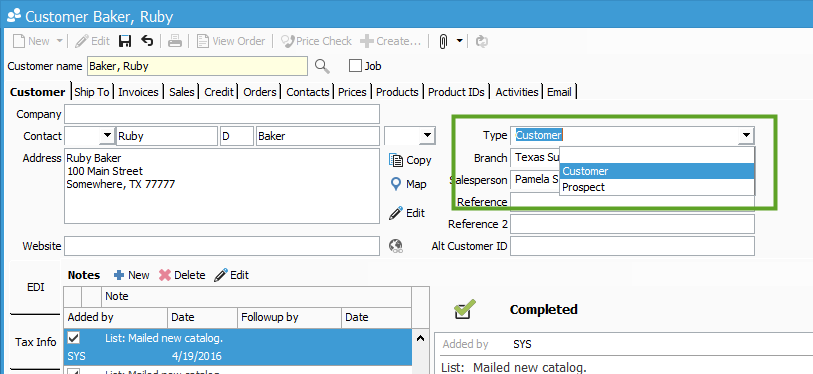
Once the different Types are set in Configuration Manager, the Type is then related to each Customer in Acctivate. The drop down will show all active Types set up in Configuration Manager.
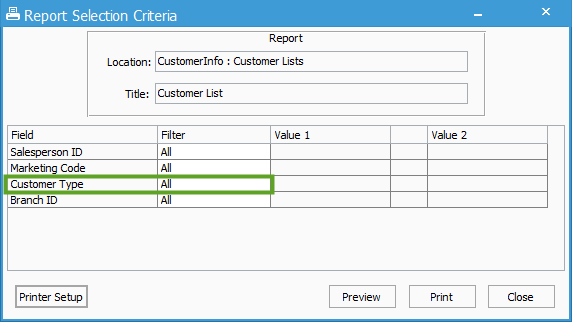
The Customer Type can be used to filter results on different Reports. A user may only wish to see data related to a specific Type. Using Selection Prompts on various reports, users could narrow the results to only show a specific Type of Customer.
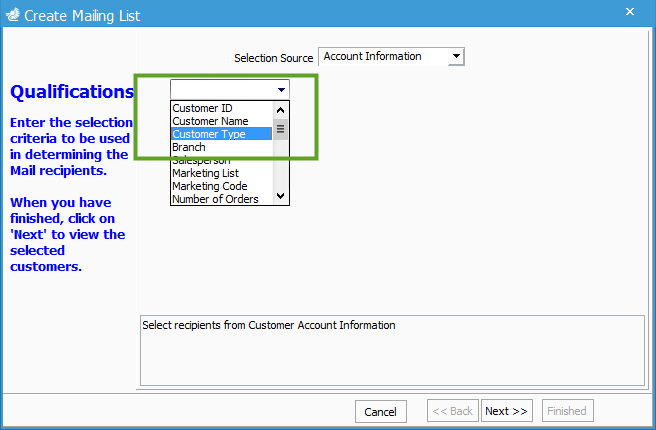
Customer Types could also narrow the results when creating a Mailing List in Acctivate.
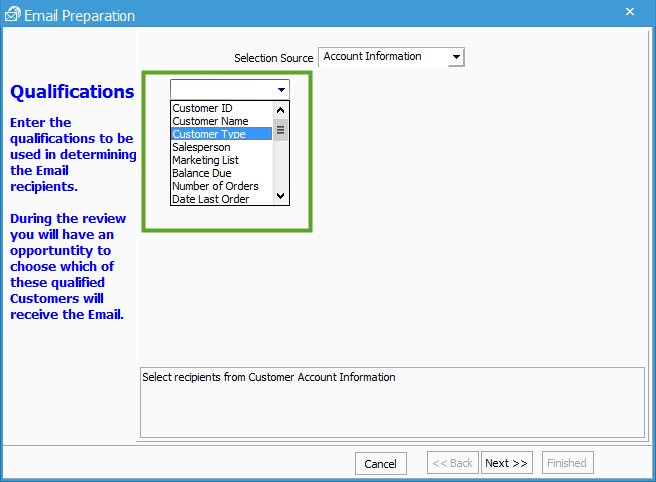
The Customer Type could also be handy when preparing to Broadcast Email a group of customers at once.
