In addition to the standard payment terms available in Acctivate (Net 30, 10, COD, etc…), user can add, make changes, or remove terms. These modifications to the terms list take place within QuickBooks and are then synced over to Acctivate.
Terms codes can be created and modified in QuickBooks and are not maintained in Acctivate. The terms code list is located in QuickBooks under Lists -> Customer and Vendor Profile Lists -> Terms List menu.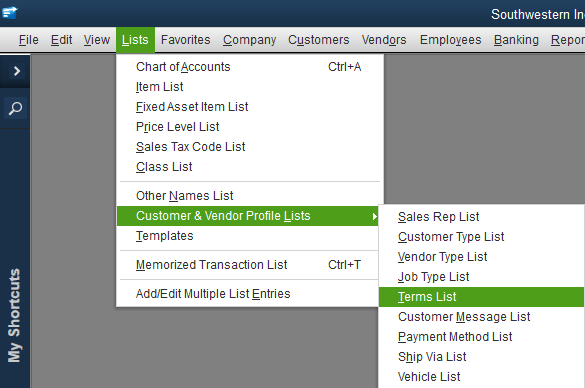
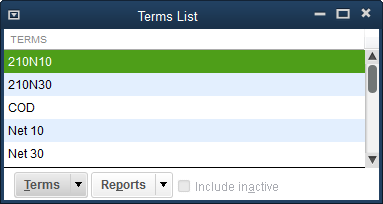
Once open, click on the down arrow on the “Terms” button and then select whether you’d like to add, edit, or delete terms.
After making the changes, run a sync in Acctivate and the changes will be carried over!
Once a change has been made in QuickBooks, you will need to run a synchronization with QuickBooks to push the changes to Acctivate. If the changes do not show in Acctivate following the sync, try restarting Acctivate and the terms should be updated.