Before attempting to import in picture files into Acctivate, it is highly advisable to create a shared directory on the server. This directory should be shared with all users who will be using Acctivate. You can do that by following the below steps on the server computer:
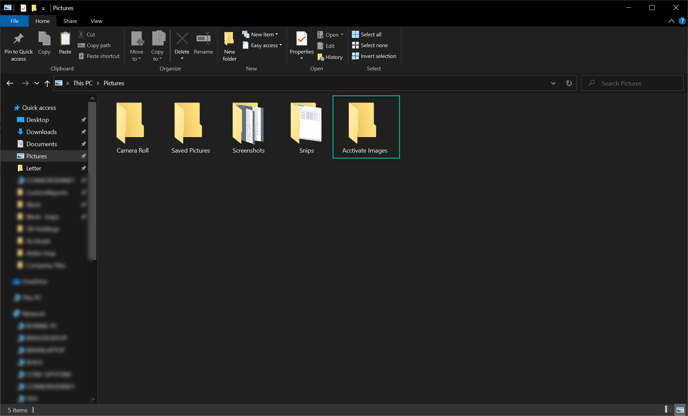
- Create a new file directory anywhere on the server to hold the image files. For this example we will create a new directory called "Acctivate Images" in the "Pictures" directory in windows.
- This can be done by right clicking in the "Pictures" directory and selecting "New" -> "Folder"
- After you create a directory, share the directory with all users. To do this, right click on the directory you created in the previous step and navigate to "Properties" -> "Sharing" and click on the "Share" button. From here, you'll need to select who to share with. Depending on your workgroup configuration, this may be just "Everyone" or it may be "Users." It's best to consult your IT about how this should be setup.
- After you share the folder, you can begin to add the images that you'd like to import in into the folder. It's advisable to name the images after the product so that you can locate them later.
- Once you've populated the folder with the desired images, you can begin to create your excel sheet. At the very least for a product image import (updating existing records) you'll need the following options:
- Product ID
- Image Path
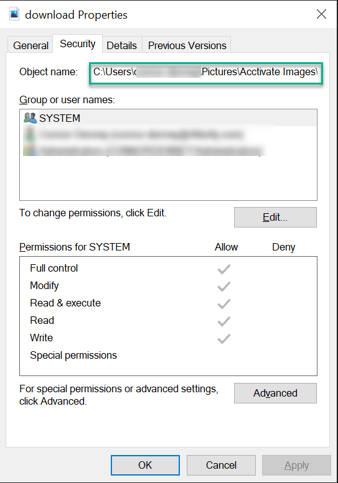
- The file image path will be the path that the image is located within the directory. You can find this path by navigating to that shared directory you created in step one. From here, locate the images and right click them and select "Properties"
- Click on the "Security" tab and copy the "Object Name" path. This is the path you'll paste on the cell that corresponds with the product row and image column.
- Once you've populated your excel spreadsheet, then you'll follow the steps to do a standard product import. If you need those steps, please refer to our Product Import training guide article.
- If you already know how to import and just need the mapping, please refer to our Product Import mapping table.