- Open Acctivate Configuration Manager.
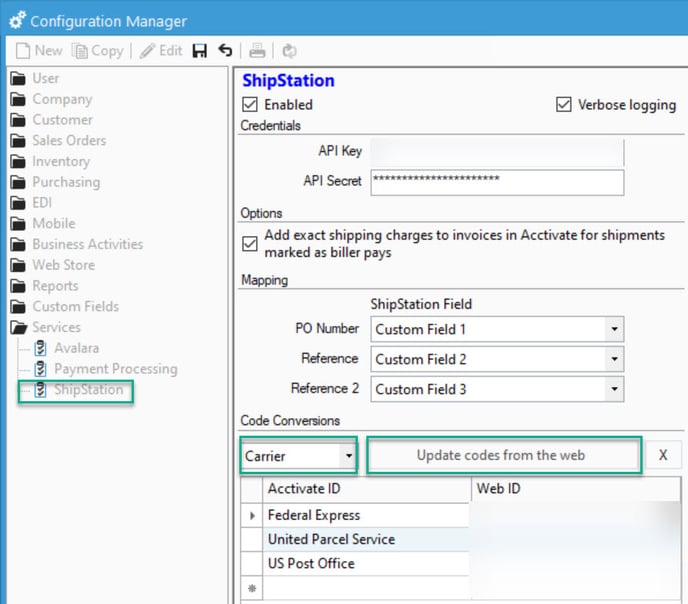
- Select Services > Shipstation.
- Login to ShipStation and go to Account Settings.
- Under Account Settings, select API settings.
NOTE: Do NOT select Integrations and try to add Acctivate thru the application lookup.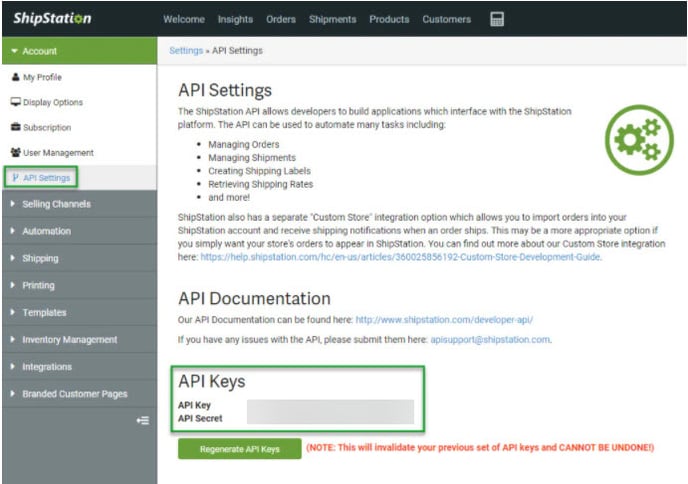
- Copy the API Key and API Secret into the corresponding fields in Acctivate Configuration Manager -> Services -> ShipStation and check the box next to "Enabled".
- In the Code Conversions section below the API Keys, select to "Update Codes from the Web" for Carrier and Carrier Service (found in the dropdown). This will allow Acctivate to translate the value into ShipStation's terminology.
- Once the codes come in, verify that the Acctivate ID on the left is assigned to the correct Web ID on the right for both carrier and carrier services. The Acctivate ID may only be assigned to one web ID. If additional conversions are required, you should create additional carriers and carrier services.
- Save your changes.
- In Configuration manager, go to the Sales Orders Section.
- Open the Ship Via options.
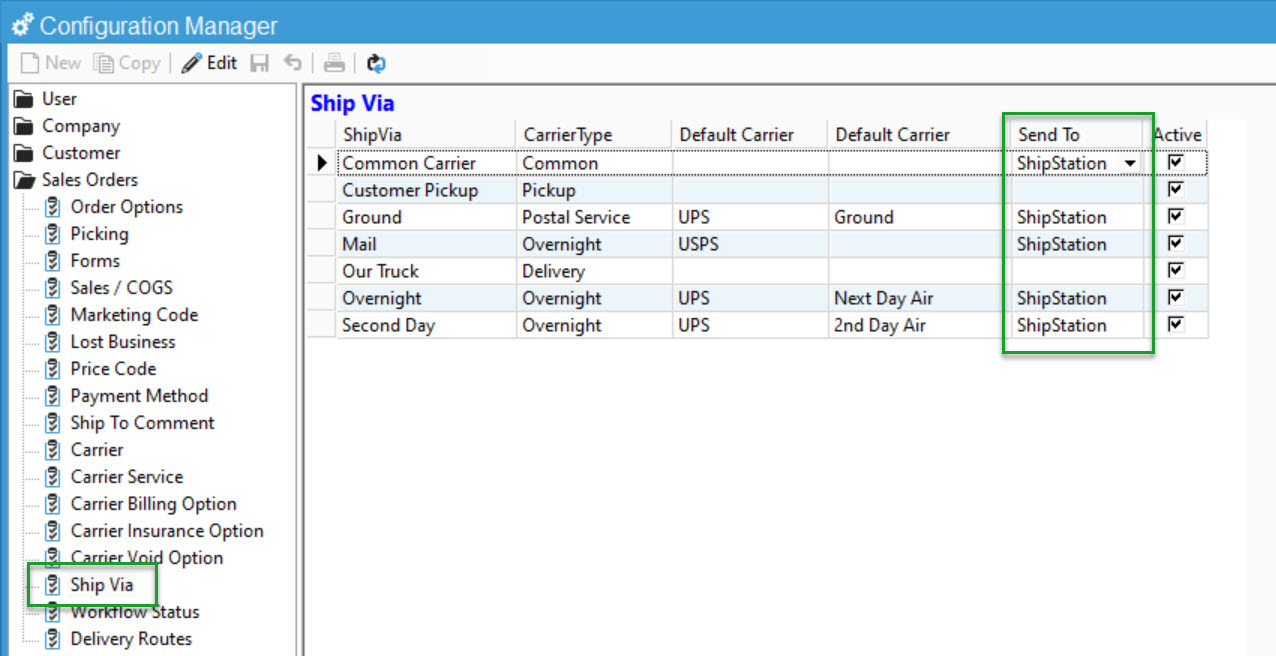
- In the Send To column, you'll select if that Ship Via should send the sales order to ShipStation. In Ship Via's like "Customer Pickup" we don't want to send the order to ShipStation accidentally.
Review our Docs Page for Details Instructions.
- ShipStation must have at least one active manual store configured. If more than one is setup, Acctivate orders will be imported into the first manual store.
- Sending orders to ShipStation for shipping and then importing the shipment information back into Acctivate requires the Shipping Workstation license.
- Importing ShipStation sales orders into Acctivate requires a Web Store license.