When a company decides they no longer need to use a tax category, they are able to disable and get rid of them. This is all handled within QuickBooks and then synced over to Acctivate.
Take the following steps to do so:
- First before you do any of the steps below, make sure that no customers are assigned to any of the categories you intend to make inactive/delete.
- In QuickBooks, navigate to the Item list by going to List -> Item List
- Here you will be greeted with a window showing all product classes and sales tax item lines.
- To make a tax category inactive, right click on the category in question and click "Make Item Inactive."
- Close out of the list and perform a sync with QuickBooks within Acctivate.
Please Note: A user may be tempted to right click and select "Delete item" instead of making an item inactive. This is not always a good idea and may result in sync errors with Acctivate. Please review this article for considerations to make first, or for solutions to the sync errors if you receive them.
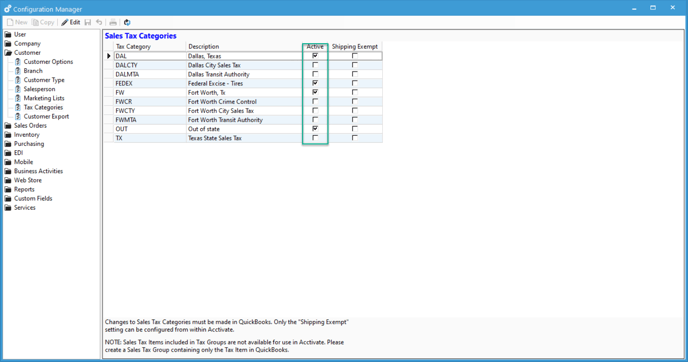
After performing a sync with QuickBooks, you can verify that the tax categories are inactive/deleted by going to Configuration Management -> Customer -> Tax Categories and verifying the "Active" box is NOT checked.