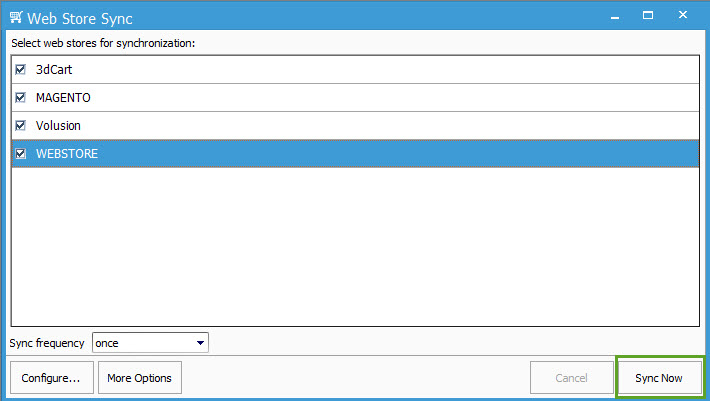
Manually initiating a Web store sync.
Information on how the sync works and how to sync with your web store in Acctivate
Once you have set up a web store integration between Acctivate and your web store, you’ll need to sync the two regularly. This can be done automatically or manually. We’ll cover the manual steps in this article.
First, click the “Web Stores” menu option and then click “Web store sync” from the drop down. This will open the Web Store Sync window.

Once here, look over your set up web store integrations. If you do not want to sync orders with a certain web store, simply uncheck the box next to the web store name. After doing this, click the “Sync Now” button.
In the following window, you’ll see the results of your sync. Depending on the web store and data returned, you’ll need to click a “Complete sync” button after the initial data is brought in. This confirms that the data found by the sync should be imported into Acctivate.
More Options:
You can use the "More Options" section to manually sync a specific order, range of orders, or by timestamp. "Order ID" usually corresponds to the webstore order number, but for templates like Shopify, use the "Web Order ID" from the URL of the order. For example, in this Shopify URL: https://store.shopify.com/store/store/orders/4249917849664
The Web Order ID is 4249917849664, which can be used for manual sync.
