For Android devices the Acctivate setup is significantly more simplified than the Windows mobile setup and can be done in just a couple of minutes. This guide assumes that you have already installed the Acctivate Mobile Web service on your server, which is required for mobile. If you have not done that yet, please check out this guide (If you are already using Windows mobile and are switching to Android, you've already done this!)
If you've already installed Acctivate on Android and just need to know how to connect it to the webservice, click here to be taken to the second half of the guide.
Please note: This guide assumes that your device includes the Google Play Store already on the device as some devices do not. In that case you will need to sideload the application, we have a guide here about this.
To Install Acctivate on Android follow these steps:
- On your Android device, open the "Google Play Store" and search "Acctivate
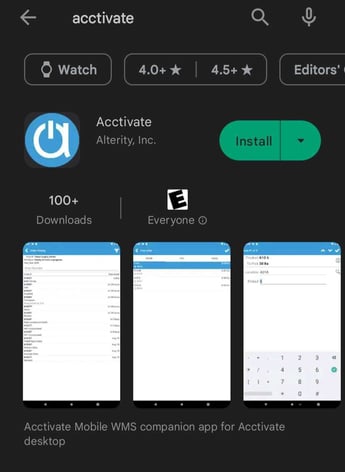
- Click the "Install" button to download the application onto your device.
- Wait a few moments for the install to complete and for the app to appear in your apps page.
Now that you've successfully downloaded Acctivate onto your device, you're ready to connect it to your mobile webservice.
Like Windows mobile, you will need to be on the same network as your webserver unless you are on a hosted environment. In that case, the hosting company needs to "publish" the mobile webservice to be accessible outside the network. You can also setup a VPN to access Acctivate from outside your mobile webservice, however support cannot help you with that.
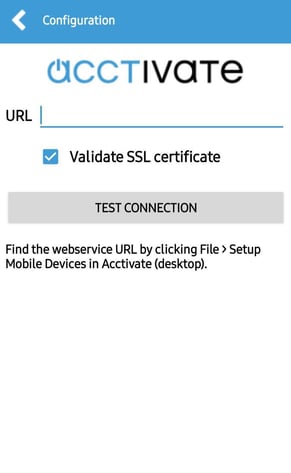
- Open the Acctivate application located in the "App drawer" on the device. It may also be on the home screen.
- Upon opening the app for the first time, you'll be presented with the "Configuration" screen in which you'll need to enter the URL of your mobile webservice:
- You can find this URL by opening Acctivate on desktop and then going into the "File" menu and selecting "Setup Mobile Devices." You should then see something like below:
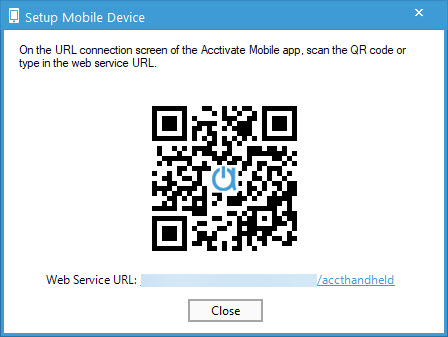
- From here you have two options:
- Either scan the QR code to have the URL automatically populate into the URL field.
- Manually type in the full URL listed. (This includes the http://)
- Once you've got the URL in, click "Test Connection" and wait till you're given the success prompt.
- If you're given an error, be sure to verify that your device is connected to Wi-Fi and that you're on the same network as the server. If that doesn't work, try connecting via the IP address of the server instead of the name. (You will still need the http:// and the /accthandheld on the URL.)
- After that, simply click the back arrow next to the "Configuration" label and you'll be taken to the login screen where you can login with your normal Acctivate credentials.
Now you're ready to start using Acctivate for Android! Please check out our overview article for guides on how to use each module.