This guide assumes you already have the Acctivate webservice installed on your server. If this is your first time doing a mobile setup, please install the webservice first, then come here.
The Acctivate Mobile WMS client software must be installed on each Windows Mobile device. This software communicates with the Acctivate Web Service. Your device(s) must have a TCP/IP network connection to the Acctivate Web Service over port 80 (or 443 for SSL). These connections are typically made over WiFi. Bluetooth and other network connection methods are not recommended.
When running the installer for the Acctivate Mobile client on your Windows Mobile device and asked to restart the device, choose CANCEL instead of rebooting. Letting the device restart will cause the install to fail prematurely.
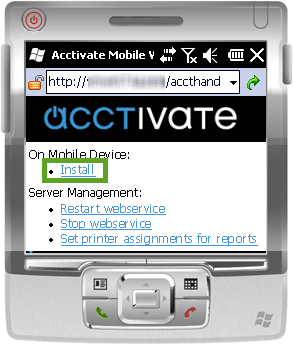
- Open Internet Explorer on the Windows Mobile device(s) and navigate to the Acctivate Mobile WMS Web Service URL. You can find this by going to File -> Setup Mobile devices in Acctivate Desktop. Confirm that you see the same Acctivate Web Service page on the mobile device (see below).
- Click the Install link. You may receive a security warning at this point due to the Windows security settings for the newly configured Web Server (IIS). Please follow any instructions to adjust the settings of the Acctivate Mobile WMS Web Service.
- Follow the instructions on the next page, clicking “here” to download the Acctivate Mobile WMS client install package.
- You will be prompted to Save the AcctivateInstaller.exe file. The Save As dialog will appear next, simply click Save again. Please choose YES if prompted to replace an existing file with the same name.
- Close Internet Explorer on the mobile device, then open File Explorer from the Start Menu.
- Scroll down then tap the AcctivateInstaller at the bottom of the list. The install process should begin automatically.
- You may be prompted to Choose a location to install if your device has removable storage (e.g., microSD card). We recommend that you install Acctivate on the device if possible. If you’re presented with other options like “on application” or “on cache disk”, disregard these and install on the device.
- If the installer asks to reboot, choose CANCEL and let the installer continue. Rebooting will cause the installation to not continue.
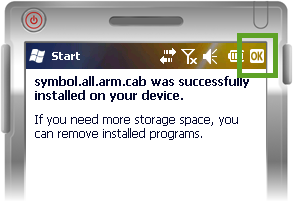
- The Acctivate Mobile WMS client software includes multiple third-party components. Click OK after each component is successfully installed. The OK button located at the top-right of the window in the same location as the X button to close the Acctivate installer. Carefully tap the OK button ONCE when prompted, to avoid canceling the entire process.
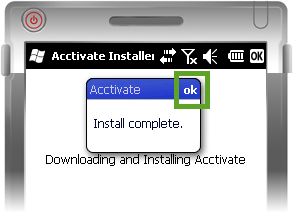
- You should see the Install complete message after all required components are installed. Click OK to close the installer and OK again to close the File Explorer.
- Acctivate Mobile WMS is now installed on your device!
- Tap the Windows Start button on the Mobile device and choose Programs. Some devices will take you directly to the Programs list.
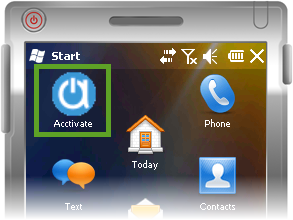
- Tap Acctivate in the Programs list and wait a few seconds for the login window to appear
- Select your Company from the drop-down and provide your Acctivate credentials and click Login
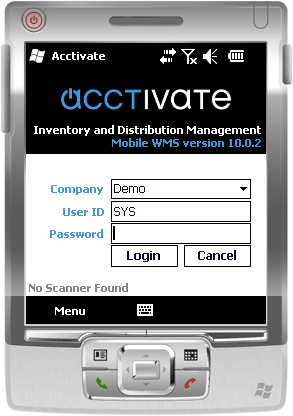
Note: The No Scanner Found message (see above) indicates that the Windows Mobile device either does not have a barcode reader or it is not supported by Acctivate Mobile WMS. Please review the Acctivate Mobile section of our system requirements for more a list of supported barcode readers.