Creating a Custom Bar of records in Manager windows.
Any of Acctivate's managers will allow you to create custom bars for records.
Included in the Manager windows are some standard views. We recognize our users may want to create a custom view of records for their unique needs.
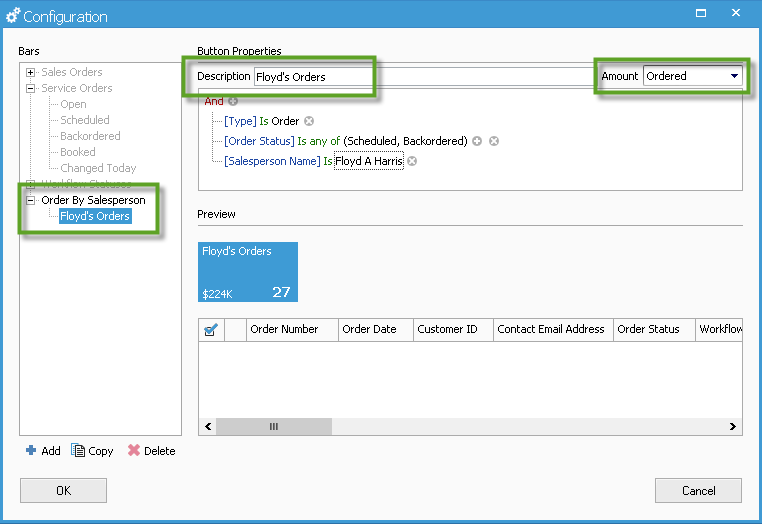
For this example, we're going to create a custom bar with buttons for each of our sales reps to look at and quickly see their orders in the sales order manager. These steps apply across all of Acctivate's manager windows.
Creating custom bars:
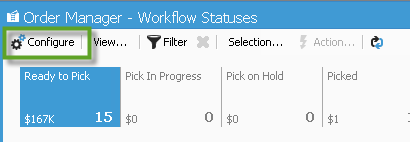
In the Manager window, select the “Configure…” button on the toolbar. The Configuration window will open.
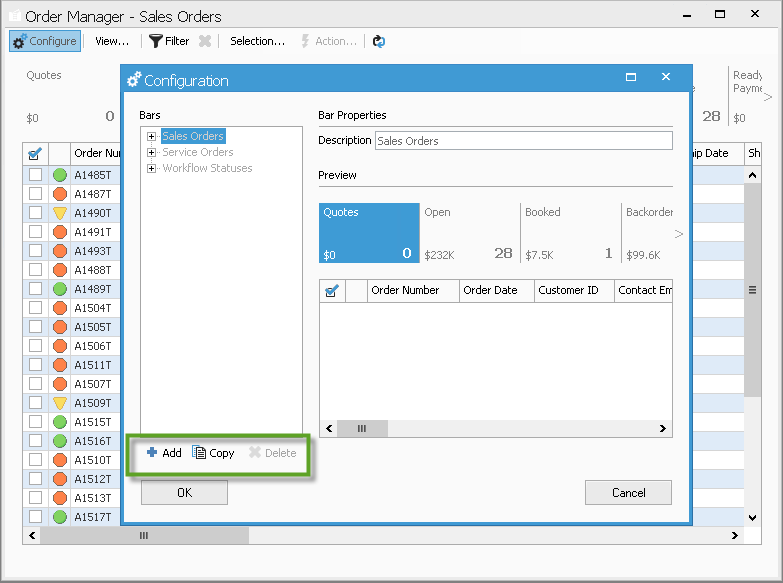
The Configuration window is split between the Bars tree on the left and a preview of each bar and button on the right. 
Copy an existing bar:
In the configuration window, you will notice some bars are greyed out. These bars are the default views and cannot be modified. You can create a personalized version of a default view by highlighting the bar in the tree, and clicking the Copy button on the bottom left. When creating a new bar, you will be prompted to name this bar.
Name the bar when prompted and click ok. Your custom bar will appear in the tree and you may now begin editing the buttons shown in the preview window. Here, you can select each button and modify the selection by adding or modifying the selection criteria.
