Copying a product in Acctivate
Steps to copy product information to a new product in Acctivate
Acctivate allows users to copy existing products. The copies will maintain much of the same information as the original products, only with a unique Product ID and transaction/order history. This article will show how to copy a product in Acctivate and what data is copied over.
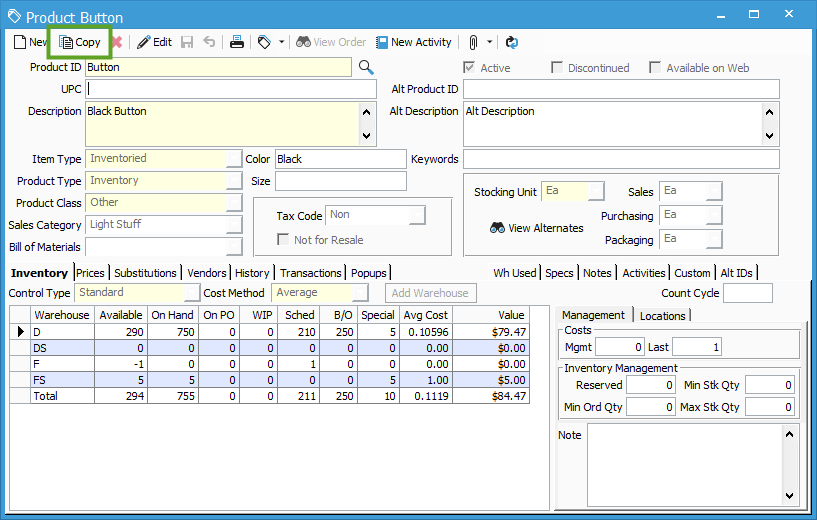
The screenshot below shows the product Button. Notice that the Description shows as Black Button. Let’s say that you wanted to start stocking Red Buttons and you wanted to track the inventory and sales of this product separate from the Black Button product. You could click “Copy” at the top of the Product window to start the process of creating a new product from your existing product.

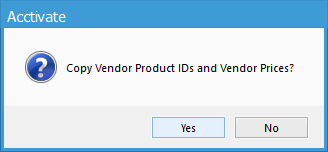
After clicking Copy, you may notice a window asking if you’d like to “Copy Vendor Product IDs and Vendor Prices?” If the original product had any information set on the Vendors tab, this popup will give you the option to also add that Vendor information to the new product.

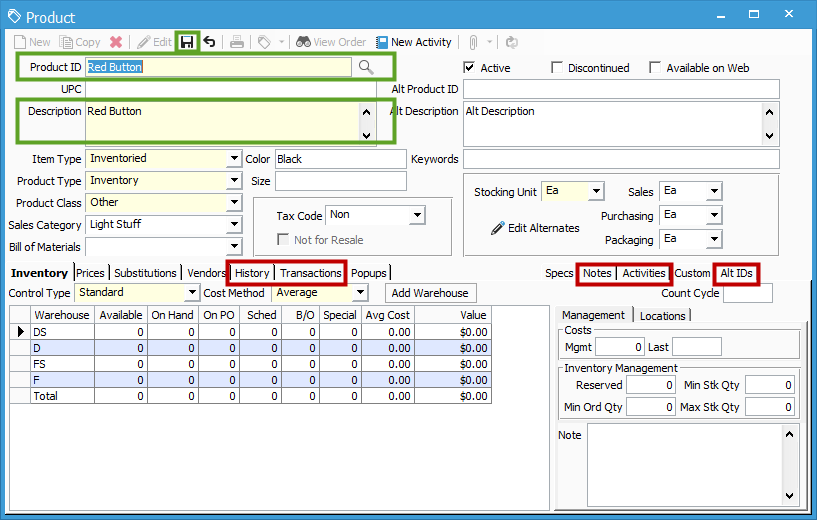
In the new Product window, the Product ID field will be left blank and will have to be entered with a unique ID. In the example below, the new Product ID was simply set to “Red Button.” The Description will be copied over, but can be modified, just like any other data on the new product. All of the data on the old product will copy over to the new product except for the data on the History, Transactions, Notes, Activities and Alt IDs tabs. Once all of the data on the new product has been entered and looks correct, click Save to finish creating the new product.
