Managing reports in Acctivate
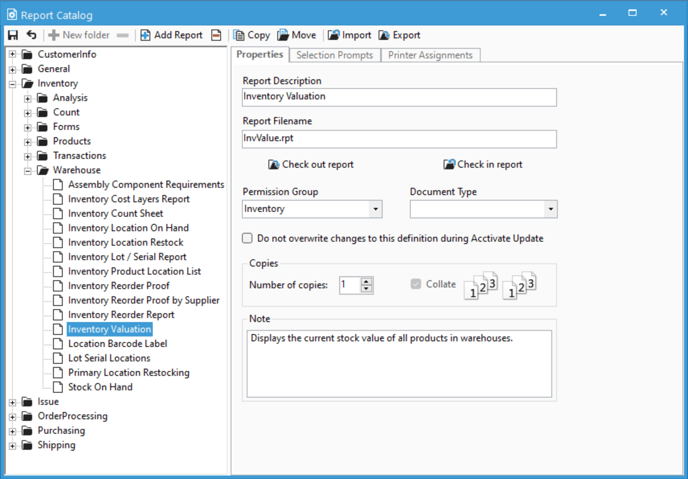
New to version 12.1 is a "Manage Reports" window where all report management in Acctivate is done. The manage report window has all the same features as configuration manager but no longer requires admin permissions.
Added in Acctivate version 12.1, the "Manage Reports" window allows you to create new report definitions, remap reports, change filters, printer assignments and more.
Please Note: The Manage Reports section will require "Manage Reports" permissions. By default, this will be all users with SysAdmin permissions prior to 12.1.
To access Manage Reports, go to File -> Manage Reports

All Acctivate reports as well as their configurations are now stored in the Acctivate database. In order to retrieve reports and update/add reports, you'll use the "Check in" and "Check out" buttons.
For a list of all of Acctivate's standard reports, check out our doc's page.
If you're interested in getting custom reporting done for your company, check out this guide for your options.
For guides about individual features of the "Manage Reports" window, refer to these articles below: