There are two main ways to receive product into Acctivate. You can do so by either receiving against a PO or doing a standalone receipt.
Receiving against a PO:
Receiving against a PO is as easy as clicking the "Receive" button on the PO itself. We have an up to date guide on our training website that can walk you through specific steps with some helpful screenshots. Please check that out here.
When receiving against a PO, you have the option to automatically receive the full PO, which will add everything from the PO to the receipt session. This is useful for companies whose vendor's send an entire PO in one shipment VS splitting them into multiple shipments. If the option is disabled, you'll need to manually add each item from the PO to the receipt. This is useful for blanket POs and for companies whose vendors typically split a PO into multiple shipments.
You can find the option for this in Configuration Manager -> Purchasing -> Purchase Options.
Receiving without a PO:
Acctivate also allows you to receive Product without a PO. We usually do not recommend doing this as it will have some accounting implications and should only be done under special circumstances such as to split up a single lot number into multiple or to break down one item to add stock to others (disassemble.)
You can do this by taking the following steps:
- Go to Inventory -> Inventory Receipts.
- Click the "New" button to create a new receipt.
- Set your warehouse as desired. Be sure you do this before adding products!
- Add your products with their quantities, unit costs, and other pertinent information.
- Type in any desired information such as reference, document number, vendor, etc.
- Click "Post" when you're ready to receive in the product.
It's very important that you understand the accounting implications of this before doing this. When posting a receipt, the following journal entry is created:
| Account | Debit | Credit |
| Inventory Asset (or Warehouse equivalent.) | Value of Product | |
| Accrued Purchase Receipts | Value of Product |
Your inventory asset account for the warehouse will be debited (since it's an asset, this is an increase) and your Accrued Purchase Receipts account will be credited (since it's a liability, this is an increase.)
The value of the Accrued Purchase receipts account is debited when the PO Invoice is created. At that point, the Accounts Payable account is credited the value and the APR account is zeroed out. When you create a receipt without a PO Invoice, you're skipping this step resulting in the APR account being stuck with a balance that's never cleared. The only way to fix this is to create a GL entry in QuickBooks to offset the APR account with something else. You should discuss with your accountant about what this entry should be. For example, if a vendor gave us sample product to sell, we would want to create a GL entry in QuickBooks debiting our APR account and crediting our Vendor Sample account.
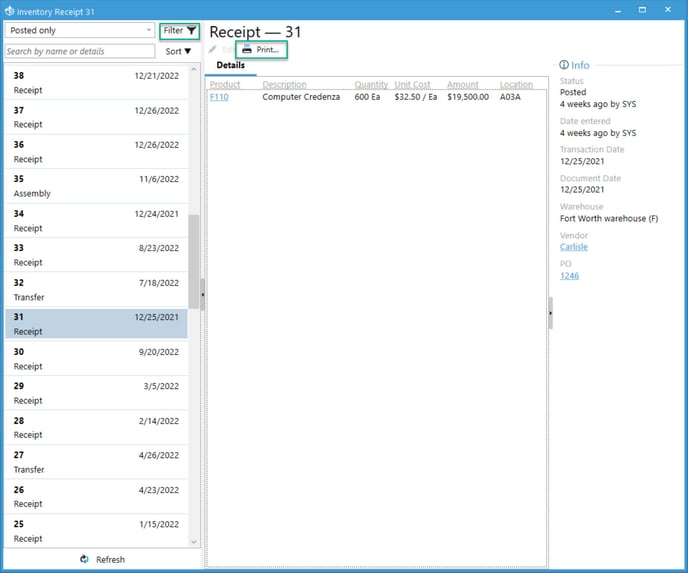
Viewing and printing receipt sessions
After creating a receipt session, you'll be given the option to preview and print it if desired. However, if you need to reference this session later or print it later, you can do so in two ways:
- Click on the "Transactions" option on the left side menu to open the transactions window. From here locate the receipt session you'd like to view. Be sure to use the filters to make it easier to find! You can filter by date, PO number, and much more. Once you locate the session you can review it and click "Print" to print the session out:
- Run the "Inventory Receipt" report located in the Inventory reports -> Transaction -> Inventory Receipts. You will need to know the session number to pull the report. From the report you can print it if desired.