Microsoft Remote Desktop is an excellent way to access your Acctivate system from a remote location or if you're using a cloud hosting partner. Please read through our Remote Desktop Connection article for more general information.
The Remote Desktop Connection app includes a lot of options to adjust performance and functionality. The following 10 steps are recommended for the best Remote Desktop performance.
Note: These instructions are based on Windows 11, but are similar for other Windows operating systems. See here for a full list of system requirements.
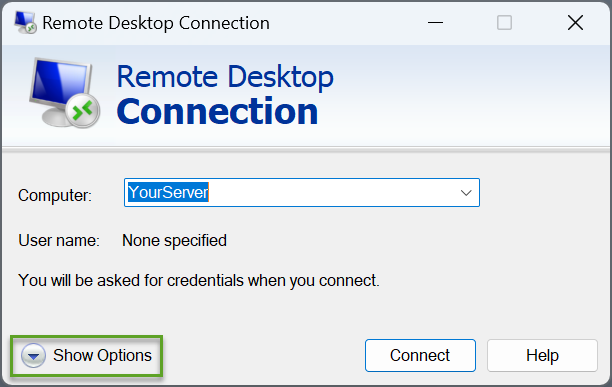
1. Launch Remote Desktop Connection from the Windows Start menu and click Show Options
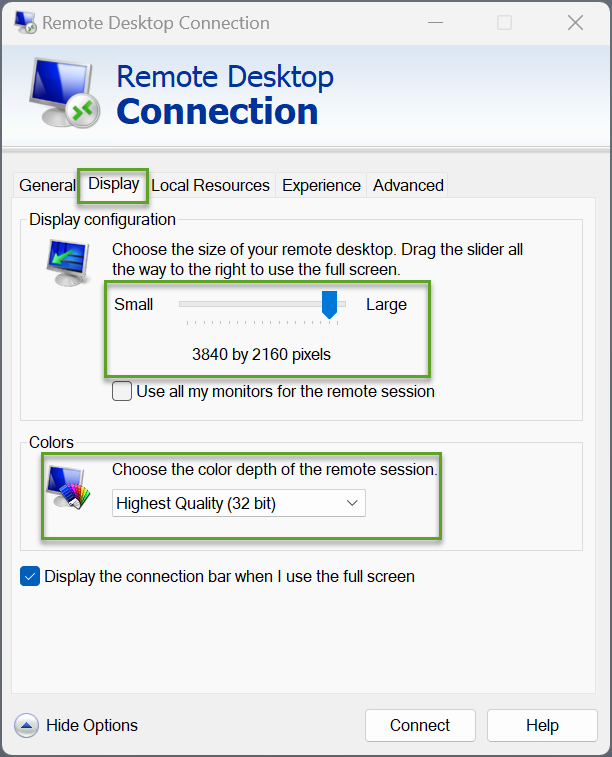
2. Switch to the Display tab to adjust the Windows Size and Color settings. The minimum supported resolution for Acctivate is 1280 x 1024, but higher resolutions are preferred.
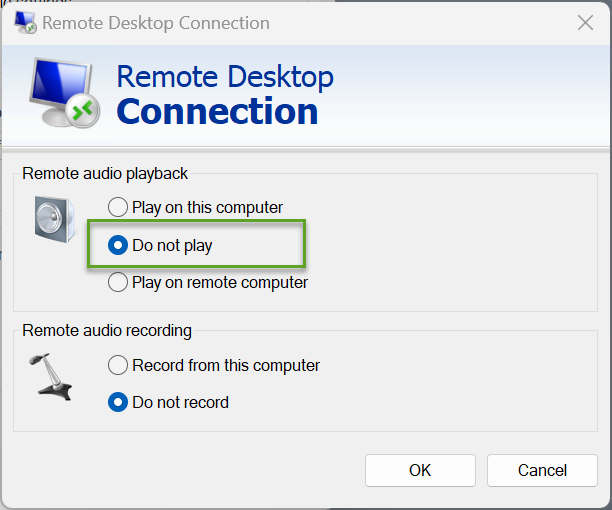
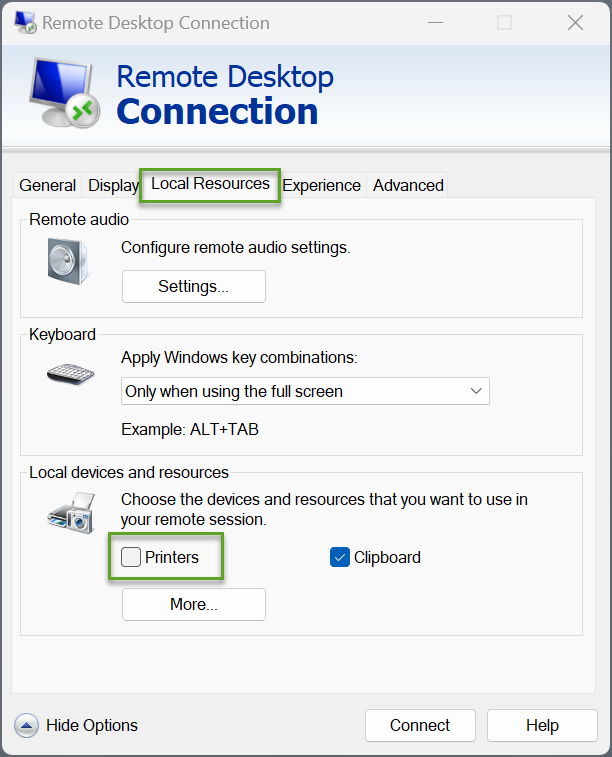
3. Switch to the Local Resources tab and click Settings... in the Remote audio section. Choose the Do not play option, then click OK
4. You may want to un-check the Printers box unless you must print documents from Acctivate to your local (remote) printer. The Printers option may cause delays when you initially connect to the server. Remote printing may also be very slow on a weak internet connection. An alternative option is to save the report as a PDF on the server and transfer the file later.
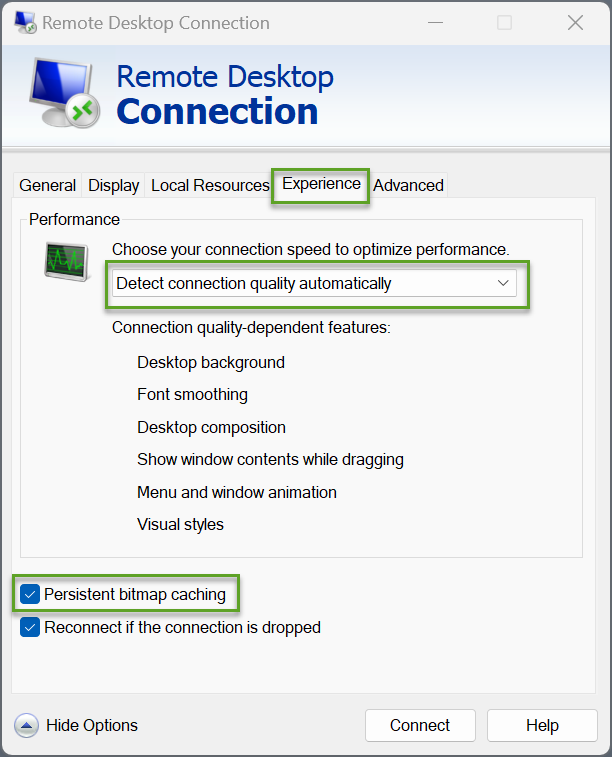
5. The last recommended changes are on the Experience tab. "Detect connection quality automatically" is a great starting point for choosing your connection speed. Consider lowering this option if you experience connectivity issues. Keep the Persistent Bitmap Caching option checked.
6. Be sure to save the settings. Switch back to the General tab, check the Allow me to save credentials box, then enter your User name. Click Save to remember these settings for future connections. Then, click Save As... to create a shortcut for this Remote Desktop connection.
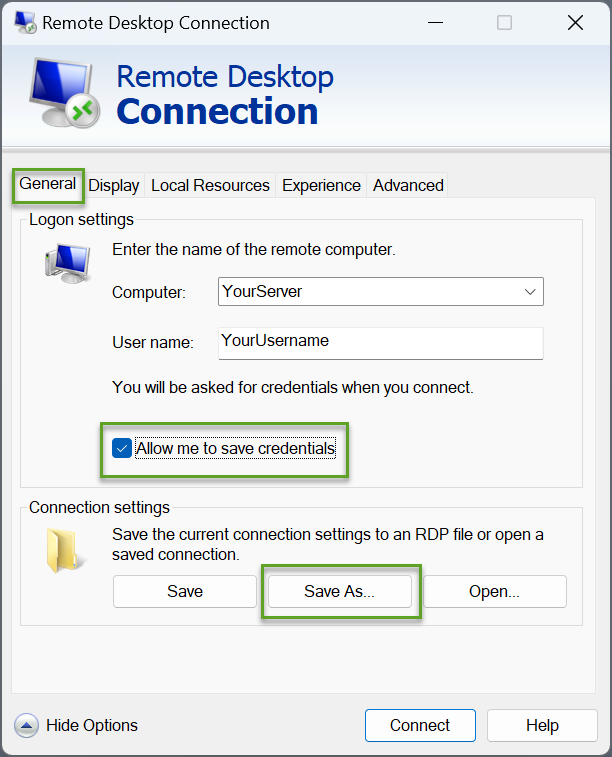
7. Adjust the File name to Acctivate - YourCompany then click Save
8. Locate the new Remote Desktop file in the Documents folder using Windows Explorer.
9. Right-click on the RDP file, choose Send to -> Desktop (Create Shortcut)
10. Use the new Desktop Shortcut to launch your new and improved Remote Desktop connection for Acctivate.