The initial Webstore set up with Acctivate is slightly different for each Webstore type. This article will include links to our most up to date information from our docs page about integrating with that specific webstore.
Part 1: Basic Steps For Setting Up Any Web Store
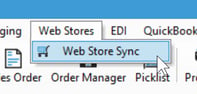
- Go to Web Stores > Web Store Sync then click the Configure button. Alternatively, go to File > Import Sales Orders to do the same.
- Create a new template.
- Select the template Type to be Webstore. It will be set this way already if opening from the Web Store Sync window.
- On the next section, select the type of Webstore you are wanting to implement. Our full list of supported webstore templates can be found here.
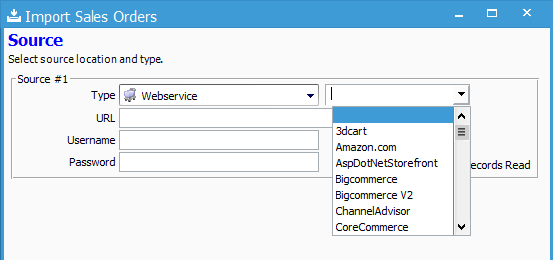
- Now you will enter your webservice URL. Each webstore requires a slightly different URL to be used so that Acctivate can connect via the webstore's API.
- Use the following sections of this article, based on the webservice type, to determine where to find your Username and Password.
- After this you may continue to configure the webstore sync by following this article or you may attempt to sync with the webstore.
Part 2: Current Webstore Setups:
- Amazon
- BigCommerce V2
- Channel Advisor
- EBay
- Magento V2 (now Adobe Commerce)
- Shift4Shop
- Shopify (Acctivate version 11.3+)
Part 3: Legacy Webstore setups
- AspDotNetStorefront
- CoreCommerce
- Magento V1
- Shopify (Pre 11.1)
-
- Create a import sales order template in Acctivate.
- Enter the webservice URL (example: https://example.myshopify.com/). (note: using a URL other than the myshopify.com url may result in information not exporting correctly).
- On the Options window, make sure "Use HTTP Basic Auth instead of OAuth" is set to No.
- Save the template and run a webstore sync.
- The Messages.log will log a URL. Open this URL in a web browser.
- Enter your Shopify account email and password into the login web page that appears.
- A message will ask you if you want 'Acctivate' to connect to your Shopify cart. If so, press 'Install' (this will not actually install anything but starts the authorization process).
- Shopify will redirect you to www.acctivate.com with an HTTP GET parameter called 'code'. Copy everything between 'code = ' and the next '&'. This is your Temporary Access ID.
- Enter the Temporary Access ID into the API Key field in the webstore template within Acctivate.
- Change the last order timestamp to your desired timestamp on the next section of the template. You may set this to a date in the future if you do not want to download orders just yet.
- Run a webstore sync. This will provides the permanent ID to the Acctivate sync template which is automatically saved and encoded.
- If you receive a 400 server error when trying to get a Permanent Access ID, the Temporary Access ID is invalid or expired. Repeat step one to get a new Temporary Access ID.
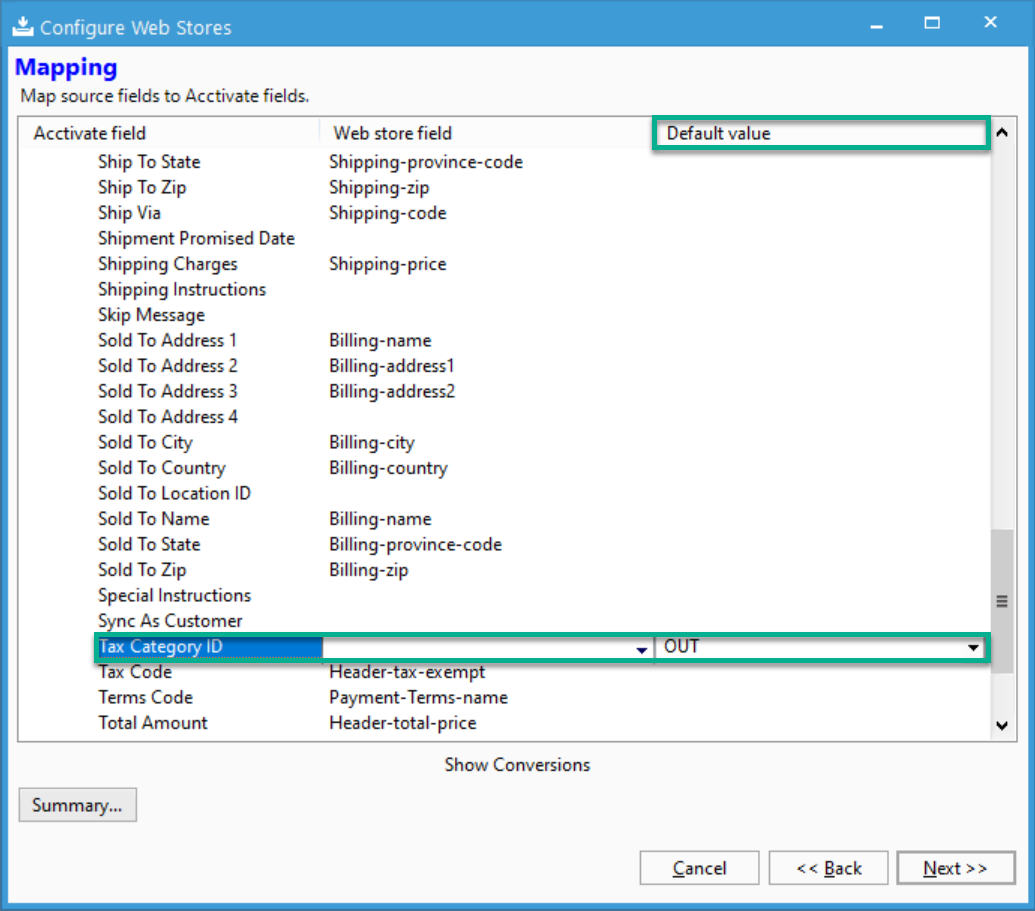
To configure a default Tax Category ID for webstore orders, set it in the Mapping section of the template profile at Order Document > Order > Tax Category ID. This is suggested for Non-Taxable Orders or Avalara integrations.