An option for handling damaged goods that need to be returned to stock is to create a credit memo that returns the damaged products to a Damaged or RMA warehouse until a decision is made on whether the items will be resold or sent back to the vendor.
If returning a serialized or lot controlled item, the user will need to process the credit into the original warehouse it was sold out of and transfer it to the RMA warehouse after creating the credit.
If it is then decided to return the damaged items to the vendor, the most common method is to enter a negative purchase order, negative receipt (out of the “returns” warehouse) and then a negative purchase invoice when you receive the credit memo from the vendor (refer to: the returning damaged product to vendor article for specifics).
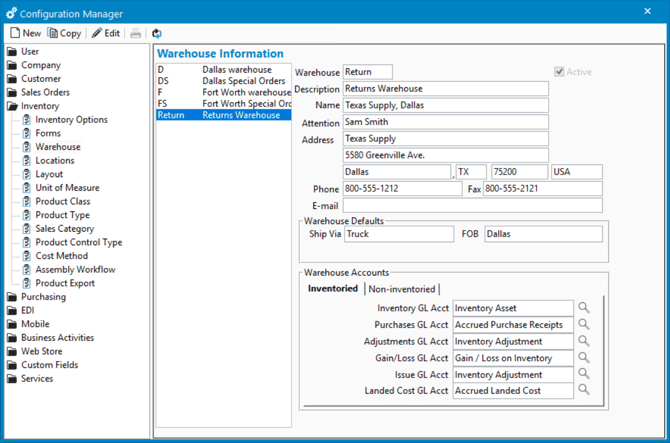
Creating a Returns or Damaged Warehouse- Go to File > Configuration Management > Inventory > Warehouse
- Click the New button
- Enter all the necessary information to setup the warehouse, including GL Accounts.
- Click the Save button.
Add Returns Warehouse to Product
The newly created warehouse needs to be added to the products in the Product window. This will allow you to select the Returns warehouse throughout the returns process.
- Use the Products list in the left menu to locate the Product.
- Click on the Inventory tab.
- Click the Create > Warehouse.

- In the New warehouse for... window, select your Returns warehouse and click Save & Close.

- The product will now be stocked in the Returns warehouse.
