Setting up FedEx using Default Templates
This article guides you through the steps to setup FedEx using Default Templates.
Configuring FedEx Ship Manager to Import data from Acctivate
- Make certain that you complete the ODBC setup before you begin the FedEx integration process. The ODBC needs to match the template in this case it should be named AcctivateODBC
- Download the Fedex Templates here FEDEX
- If you are using EDI/Packaging Manager you will need the file labeled AcctivateEDI
- If you are not using EDI/Packaging Manager use the file named Acctivate
- Open File explorer and go to the following path
- C:\ProgramData\FedEx\Integration\Profiles
- Move the file you need and paste it into folder, it should currently be blank.
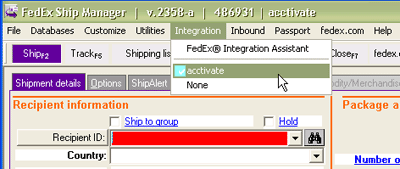
- Open FedEx Ship Manager, From the top drop-down menu, click Integration > The Acctivate template should show on the drop down, select it

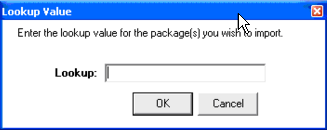
- Click Clear Fields in the left corner, a small window reading Lookup Value will appear.
- Enter an order number from Acctivate and check to ensure it imports correctly.
