Resolving the QuickBooks sync asking for Admin login.
Sometimes after an update, QuickBooks requires that connections with third-party software be refreshed.
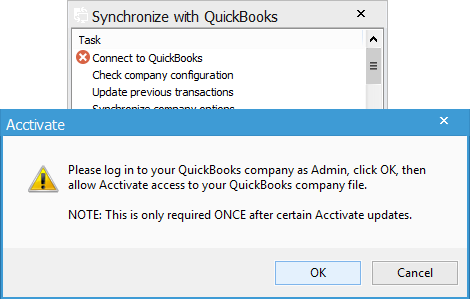
QuickBooks requires that any third-party software be “digitally signed” before accessing QuickBooks data (e.g., our sync with QuickBooks). From time to time, Acctivate may need to renew/refresh our digital certificate used for authentication. The following message may appear after installing an Acctivate Update and running the first synchronization with QuickBooks.
Note: You’ll only see the below warning if you’re NOT logged in as the QuickBooks Admin user.

Please log in to your QuickBooks company as Admin, click OK, then allow Acctivate access to your QuickBooks company file.
Note: This is only required ONCE after certain Acctivate updates
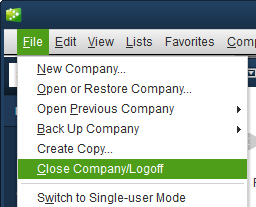
1. You’ll need to first Close Company/Logoff in QuickBooks…

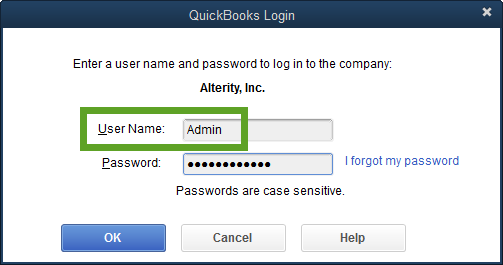
2. Log in as the QuickBooks Admin user, single-user mode is NOT required.

3. Switch back to Acctivate and click OK to try sync again, or run Sync with QuickBooks again if you closed the window.
4. You’ll be prompted in QuickBooks to choose which level of access to grant Acctivate. You’ll want to choose the 4th option and choose the Admin user:
Yes, always; allow access even if QuickBooks is not running
Login as: Admin (or the equivalent user)
5. Check the box to “Allow this application to access personal data such as Social Security Numbers and customer credit card information” then Continue…
6. Review the Access Confirmation window and click Done. Sync should complete successfully!