Acctivate for QuickBooks Desktop includes a “Demo” QuickBooks company that can be synchronized with the Acctivate Demo company (e.g., Southwestern Industries).
The included QuickBooks company file was created in an older version of QuickBooks. This file will first need to be upgraded to work with your version of QuickBooks.
The Acctivate country/edition must also match the QuickBooks Edition installed on your PC. For example, the Acctivate UK Edition requires QuickBooks UK Edition.
- Open Acctivate and Log in to the DEMO company as user SYS with no password.
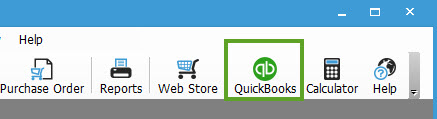
- Click the QuickBooks button on the Icon Bar
- Follow the instructions in QuickBooks to upgrade the QuickBooks company file.
- Click Move if prompted to Move Company File to the recommended location
- Check the “I understand…” box and click Update Now when prompted to upgrade the company file to your version of QuickBooks.
- Enter in a password to set for the admin account.
- Leave QuickBooks open and switch back to Acctivate now.
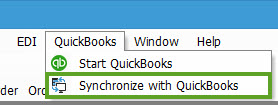
- Click Synchronize with QuickBooks from the QuickBooks menu
- 9. Click Start Sync on the Synchronize with QuickBooks window
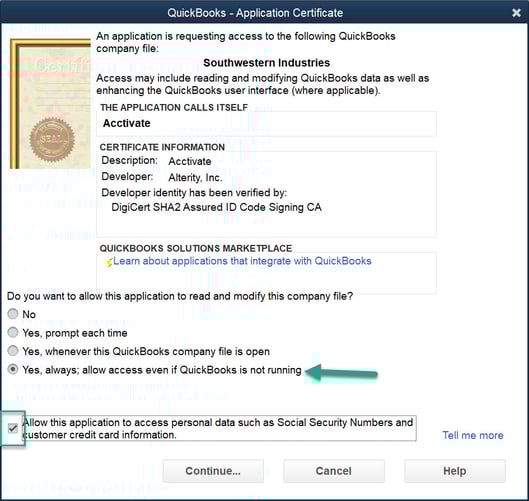
- The QuickBooks – Application Certificate window will now appear.
- Select the “Yes, always; allow access even if QuickBooks is not running” option
- Check the “Allow this application to access personal data…” option
- Click Continue...
- Review the Access Confirmation and click Done.
- The Synchronize with QuickBooks function should now complete in approximately 30 seconds.
The sync may have some warnings. This is normal. Now you can continue to use the demo QuickBooks and Acctivate file and sync as needed.