Begin by adding time and/or materials to a service billing activity in the Business Activity Management addon module. Refer to: 'Add time to a Service Billing Activity' or 'Add materials to a Service Billing Activity' to review how to create a service billing activity.
After time and/or materials are added to service billing activities, all unbilled activities can be turned into service orders in one step rather than individually using the Activity Billing Wizard (requires the Service Billing addon module). If you want to convert individual activities, do it directly from the Business Activity window.
Convert multiple unbilled Service Activities into Service Orders :
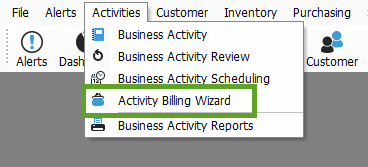
- Select Activities > Activity Billing Wizard to open the Activity Billing Wizard.
- If necessary, in the Bill Through field enter a date to display specific service billing activities billed through to that date. By default, all service billing activities that have not yet been turned into service orders will be displayed.
If nothing displays in the data grid of this wizard, then time and/or materials have not been entered or the service billing activities have already been converted into service orders. - The first line of each service billing activity will contain customer information beginning with the Customer Name.You can click the View Customer button to open the Customer Information window for the selected customer (when selected will have a black arrow head in the gray box to the left of the line).Expand the first line to reveal each of the customer's service billing activities.Select a service billing activity line to activate the View Activity button in the wizard's toolbar, which allows you to open the specific service billing activity.
- Expand the service billing activity lines to view details about the time and/or materials.
- Select the service billing activities you want to turn into service orders by clicking the checkboxes, as appropriate.
Checking the box will show the totals in the Total fields (when unchecked these fields will display $0.00), which is the total amount that will be billed for the customer according to the time and/or materials recorded in the service billing activity. - When you are sure you want to turn the selected activities into service orders, click the Create Orders button.
- A prompt will open that reads, 'Service Orders successfully created.' Click the OK button.

Invoice the service orders that the wizard created :
Invoicing can be done individually, if you do not want to invoice the entire group of service orders you just created or you can invoice them as a group (selecting only the ones you want to invoice at that time).
Individual Invoicing
- Select Sales > Service Order to open the Service Order window.
- Use the Lookup button next to the Order Number field to open a service order that was just created.
- When the new service order opens, the customer's information will populate the Header tab fields and the time and/or materials added will populate the Detail tab.
- Enter all other necessary information and review it, before invoicing.
- Click the Create Invoice button, to release the service order and invoice for time and/or materials used.
- The Release Order window will open. From the provided checkboxes choose to print, preview, and/or email the invoice.
- Click the Release button to complete the service order and actually release it for invoicing.
Group Invoicing
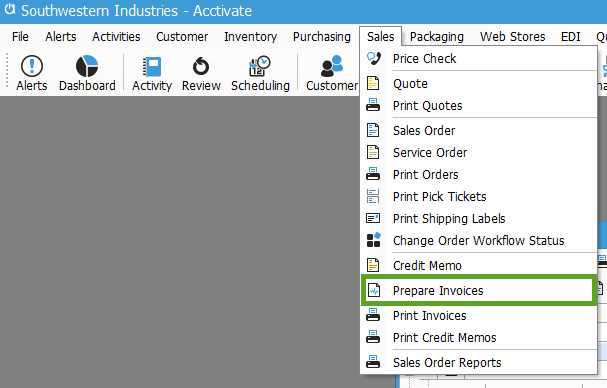
- Select Sales > Prepare Invoices to open the Invoice Preparation Wizard.
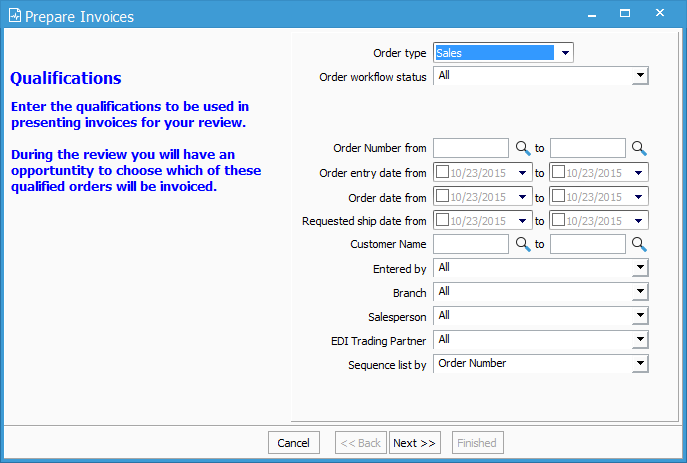
The first screen of this wizard is Qualifications. - Select Service from the Order Type field.
- Select the orders you want to invoice by using any of the provided qualification fields or leave them blank and the Entered By, Branch and Salesperson fields set to All to list all service orders that have not been invoiced.
Entering or selecting qualifications from any of these fields will present invoices for your review in the next screen (Review). - In the Sequence List by field select how you want your qualifications in the Review screen listed (i.e. by Order Number, Customer Name, etc.).
- Click the Next button.
- In the Review screen, from the provided list select the orders you want to invoice by checking the boxes to the left.
You can also use the buttons (Mark All, Unmark All, Mark Selected, Unmark Selected) near the top of the screen to select orders to be invoiced.
The View button will allow you to view the service order for the order you have selected. - If shipping charges apply, enter the charge amount in the Ship Charge column.
- When you have selected the orders to invoice, click the Next button.
- The next screen is called, Prepare Invoices.
It will display the number of orders selected to be invoiced.
Click the Prepare Invoices button to begin invoice calculations. - When the preparation is completed it will display how many were prepared and how many could not be invoiced (in red color text).
- Click the Next button.
- If some orders could not be invoiced, the order number and reasons why will be displayed in this Errors screen. You can view the order and/or print the error listing by clicking the corresponding buttons.
- When you are done, click the Finished button. The group of service orders you chose have now been invoiced without going into each service order.