Changing Item Type for Product with Transactions.
This article explains why you are unable to change item types after inventory transactions have already been posted.
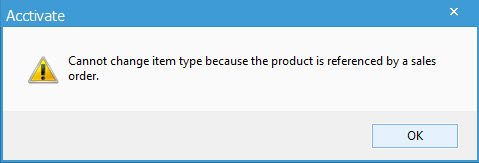
A product's item type, whether it is non-inventoried, inventoried, drop ship, etc, cannot be changed if there are any posted inventory transactions for that product. If the Transactions tab of the Product window shows any transaction history, attempting to change the Item Type will result in the following message:

Although the item type can't be changed on this product, you can achieve the same results by copying the product and creating a new one. There are a couple of steps in this process:
- Open the Product window for the current product with the original Item Type. Click "Edit", then rename the product to add "_old" to the end of the original name (or something to distinguish that it is no longer in use). Changing the name also ensures that the new product is able to use the original product id.
- If you plan to discontinue use of the current product immediately, uncheck the "Active" checkbox to exclude this product from future lookup windows.
- You'll be prompted to update open transactions with the new id. Choosing 'Yes' can be helpful if you'll need to replace the old item on open transactions with the new product
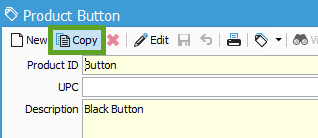
- Click the "Copy" button at the top of the product window to create a new product. You have the option to copy Vendor Product IDs and Vendor Prices as well, clicking "OK" will open a new product window in Edit mode.

- In the new product window, change the Item Type to the new Item Type. Name the product, using the original ID if you like, and click "Save".
To take things one step further, you can also discontinue the old product and move its on hand quantity to the new product. This can be accomplished in a few steps:
- If you have not yet done so, mark the product as 'Inactive.'
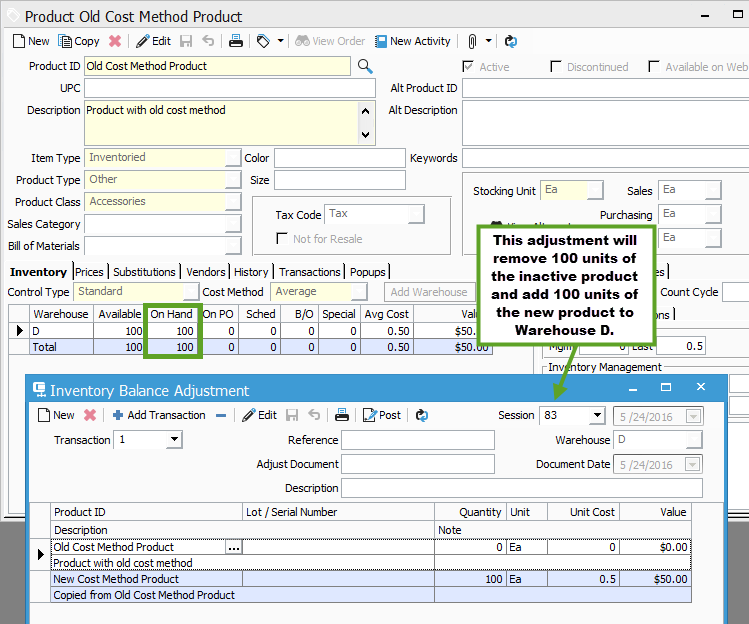
- Now you will need to move the adjust the remaining quantity of the old product out out and adjust the same quantity in to the new product. Go to Inventory > Inventory Balance Adjustment. Click New, then assign the same warehouse used on the original product.
- On the detail lines, add the old product. In the quantity field, set the number to 0. This will remove the current quantity for the old product from the specified warehouse.
- On the second detail line, add the new product. In the quantity field, enter the original on hand quantity from the old product. Set the unit cost match the unit cost from detail line 1.
- Click "Save" to save the balance adjustment, then "Post" to apply the changes to your inventory.

After the adjustment has been posted, you can now use your new item type product on future inventory transactions and orders.
You may want to change any open PO's or Sales Orders to use the New product as well after the On hand Quantity has been moved over.