User Interface Desktop Overview
Learn to navigate the menu bar, icon bar, list menu, and desktop workspace for the desktop application of Acctivate.
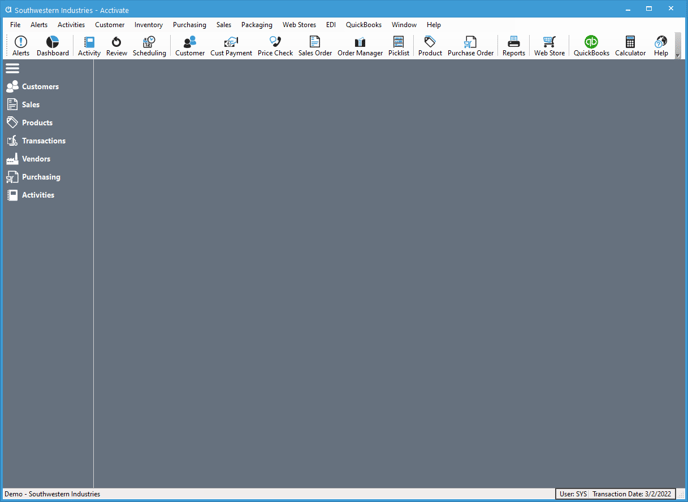
All work in Acctivate is performed on its own desktop. This space contains the menu bar, icon bar, list menu, and desktop workspace. For more detail on the Acctivate User Interface, view the windows and features training page.

Menu Bar
Located at the top of the Acctivate desktop is the menu bar. This bar organizes all Acctivate functions into main categories with drop-down sub-menus. Users may click on a menu and sub-menu to initiate a function.

Access Keys can be used with the menu bar. Enable them by holding down the Alt key, which will display underlines on certain letters of the menu headers and sub-menu items.
For example, the 'C' in Customer will be underlined, so while holding down 'Alt' if the 'C' key is pressed the Customer menu will open; and in its sub-menu the 'I' in Invoice/Credit Memo is underlined, so if the 'I' key is pressed that corresponding window will open. So, to access the Invoice/Credit Memo the access keys are Alt + C + I.
For more information about Acctivate keyboard shortcuts, see our related article.
Icon Bar
Displays shortcut buttons to initiate functions. The icon bar can be customized for each user. Buttons can be removed and added; and it allows for further customization, such as hiding the tool bar, adding custom keyboard shortcuts, displaying smaller icons and more.

Status Bar
Displays the company ID and company name of the opened company, user ID of the current user and the transaction date near the bottom of the desktop.

The transaction date is used as the default date for all Acctivate transactions and documents, which can be changed in the popup widow that opens after clicking the transaction date. Transaction dates can be changed on individual transactions also.
List Menu
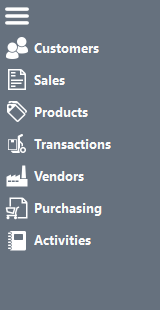
The List view menu displays several windows to search for specific items. Create custom filters at individual and company levels.
